Understanding Event Loop via a Scheduler
I'm Shubham (@shubhamsinghbundela), I'm a Software Engineer, a Full-stack developer, a tech enthusiast, and a technical writer here on @Hashnode. I have a strong zeal to share my acquired knowledge and I am also willing to learn from others.
While solving a Time-Sliced Task Scheduler problem, I realized that my understanding of the event loop, microtasks, and macrotasks was wrong.
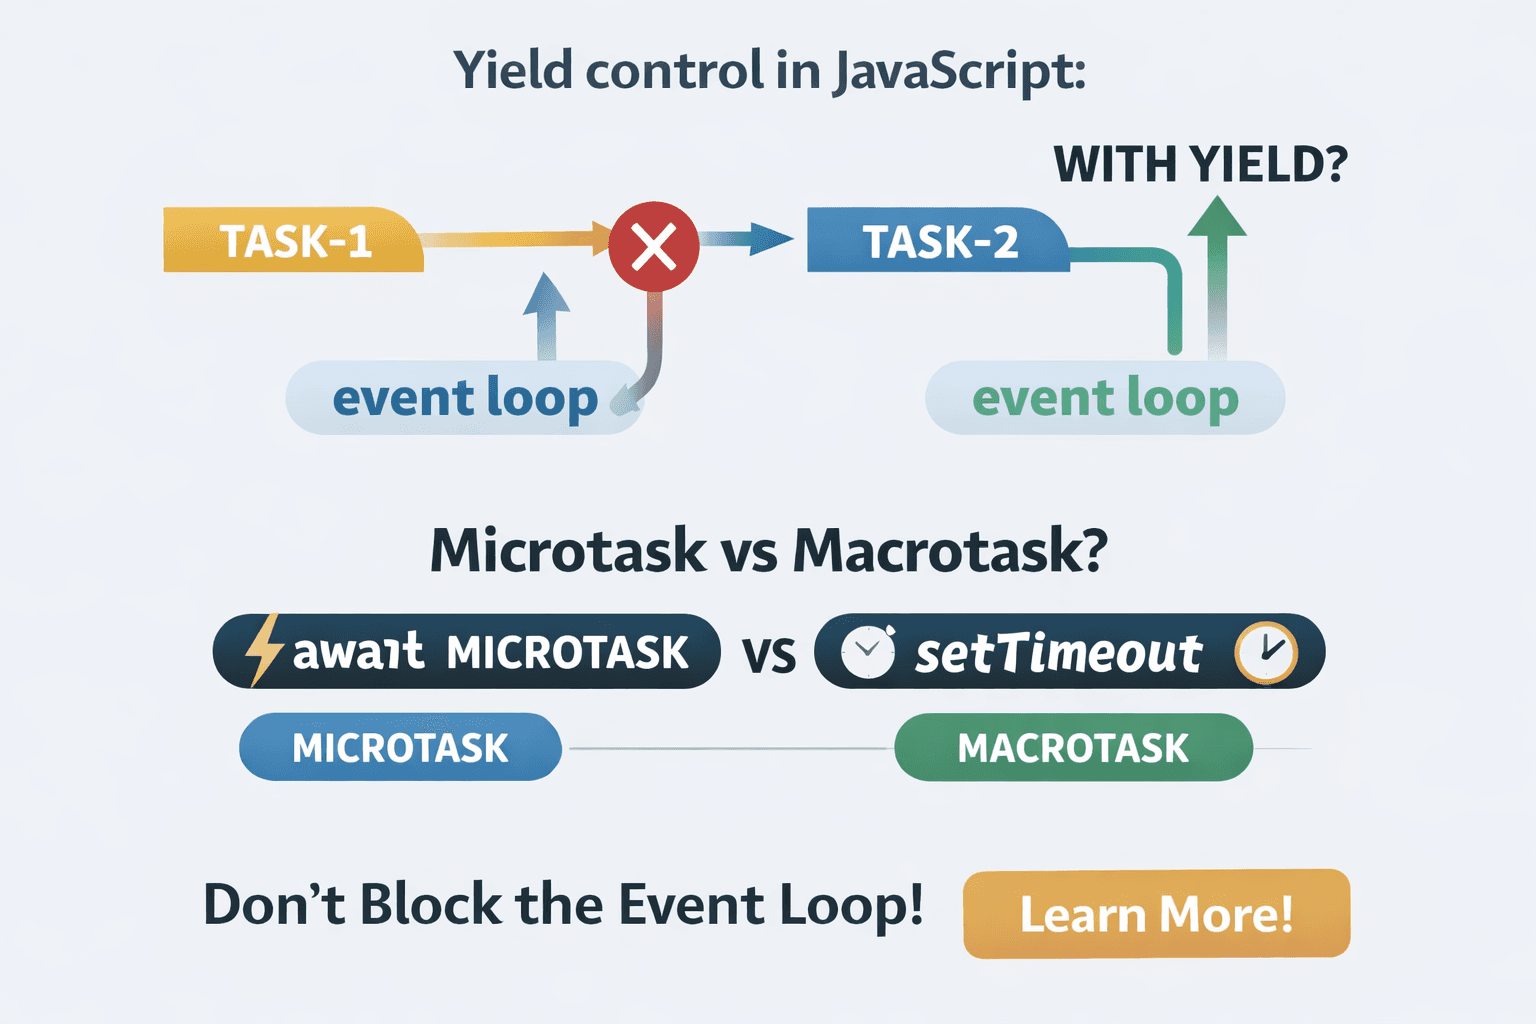
awaitdoes not automatically yield control to the event loop.
Problem Statement:
We need to build a scheduler that ensures no single task blocks the event loop for too long.
Instead of running tasks completely, each task should execute in small parts and pause in between.
This pause (yield) allows other tasks, including newly added or higher-priority ones, to run.
Since JavaScript cannot stop tasks forcefully, tasks must voluntarily give up control.
This concept is called cooperative multitasking, commonly used in UI frameworks to keep applications responsive.
Implementation
class TimeSlicedScheduler {
  constructor() {
    this.queue = [];
  }

  schedule(task) {
    this.queue.push(task);
  }

  async run() {
    while (this.queue.length) {
      const task = this.queue.shift();

      await task();

      // Yield control
      await new Promise(resolve => setTimeout(resolve, 0));
    }
  }
}
Key Test Case
const runPromise = scheduler.run();

await new Promise(r => setTimeout(r, 0));
events.push("event-loop");

await runPromise;
What Happens WITHOUT Yield
If we remove the yield:
await task();

//remove yield
Execution Flow:
task-1runsImmediately continues
task-2runsThen event loop runs
Output:
task-1
task-2
event-loop ❌
Why This Happens
Because await uses microtasks, and:
Microtasks run immediately after the current execution, before moving to the next event loop cycle.
So execution continues without any pause.
What Changes WITH Yield
await task();

// added yield
await new Promise(resolve => setTimeout(resolve, 0));
This introduces a macrotask, which:
Pauses execution
Gives control back to the event loop
Allows other pending work to run
Execution Flow WITH Yield
task-1runsScheduler pauses (
setTimeout)Event loop executes
"event-loop"Scheduler resumes
task-2runs
Output:
task-1
event-loop
task-2
Microtask vs Macrotask (Simple View)
| Type | Examples | Behavior |
|---|---|---|
| Microtask | await, Promise.then |
Runs immediately |
| Macrotask | setTimeout |
Runs in next cycle |
Key Insight
Microtasks don’t give control back to the event loop — macrotasks do.
Final Takeaway
awaitalone is not enough for yieldingYou need a macrotask (
setTimeout) to pause executionThis pattern is used in real-world systems to avoid blocking
One Line to Remember
If you want to truly yield in JavaScript, use a macrotask — not just
await.
This small detail completely changed how I think about async execution in JavaScript.